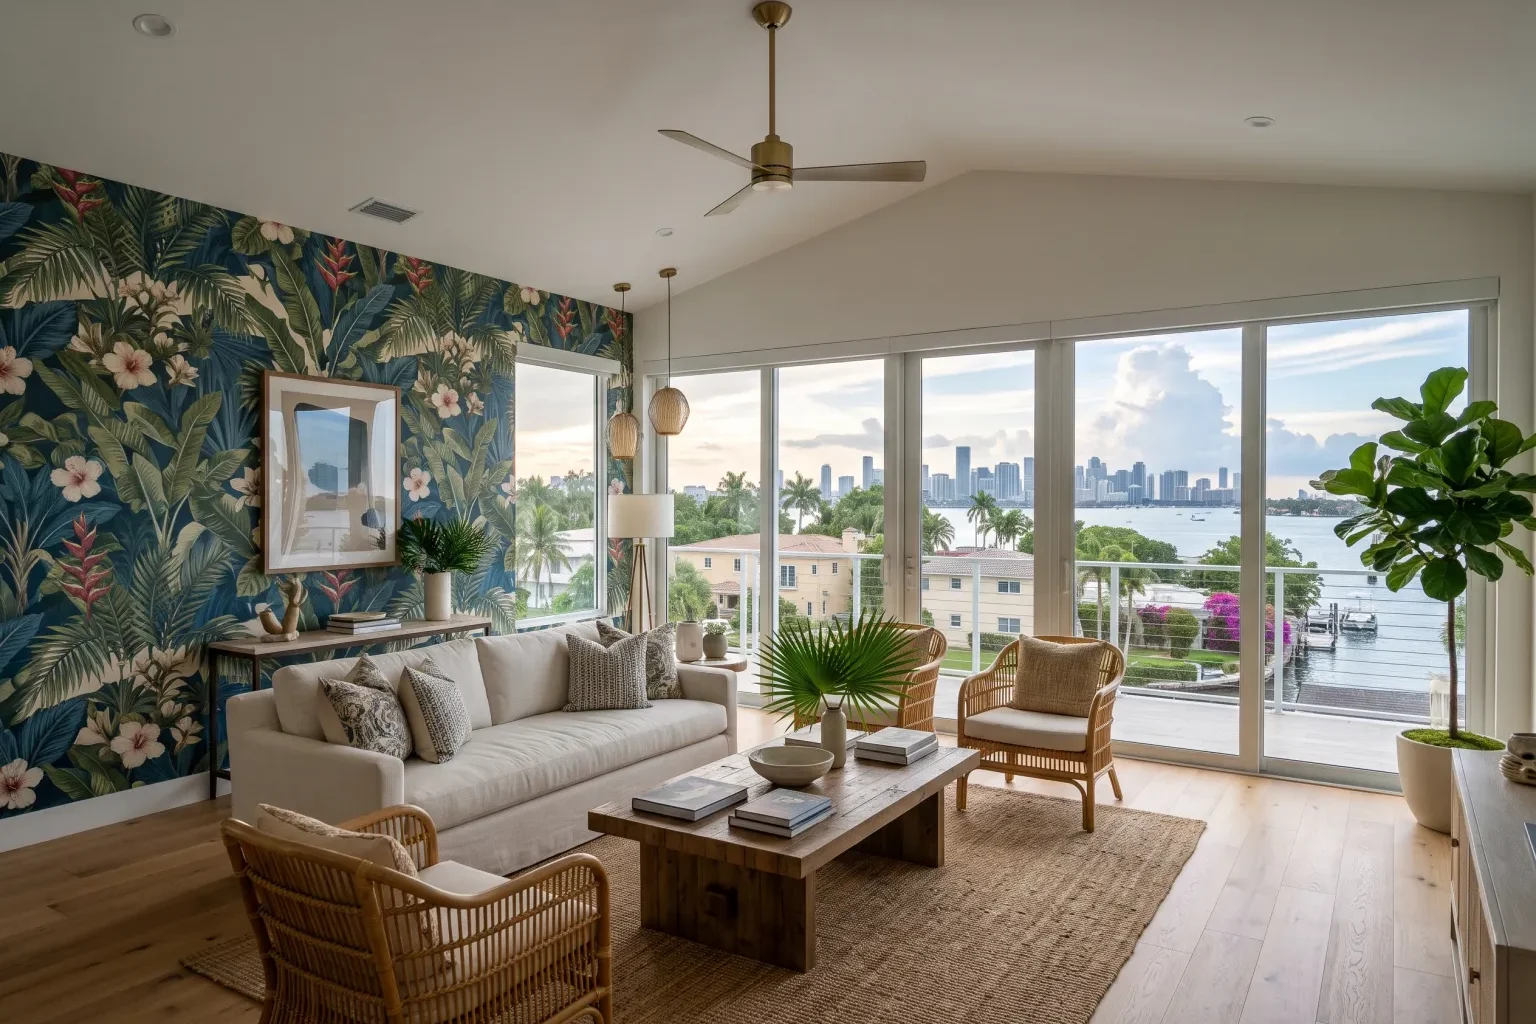
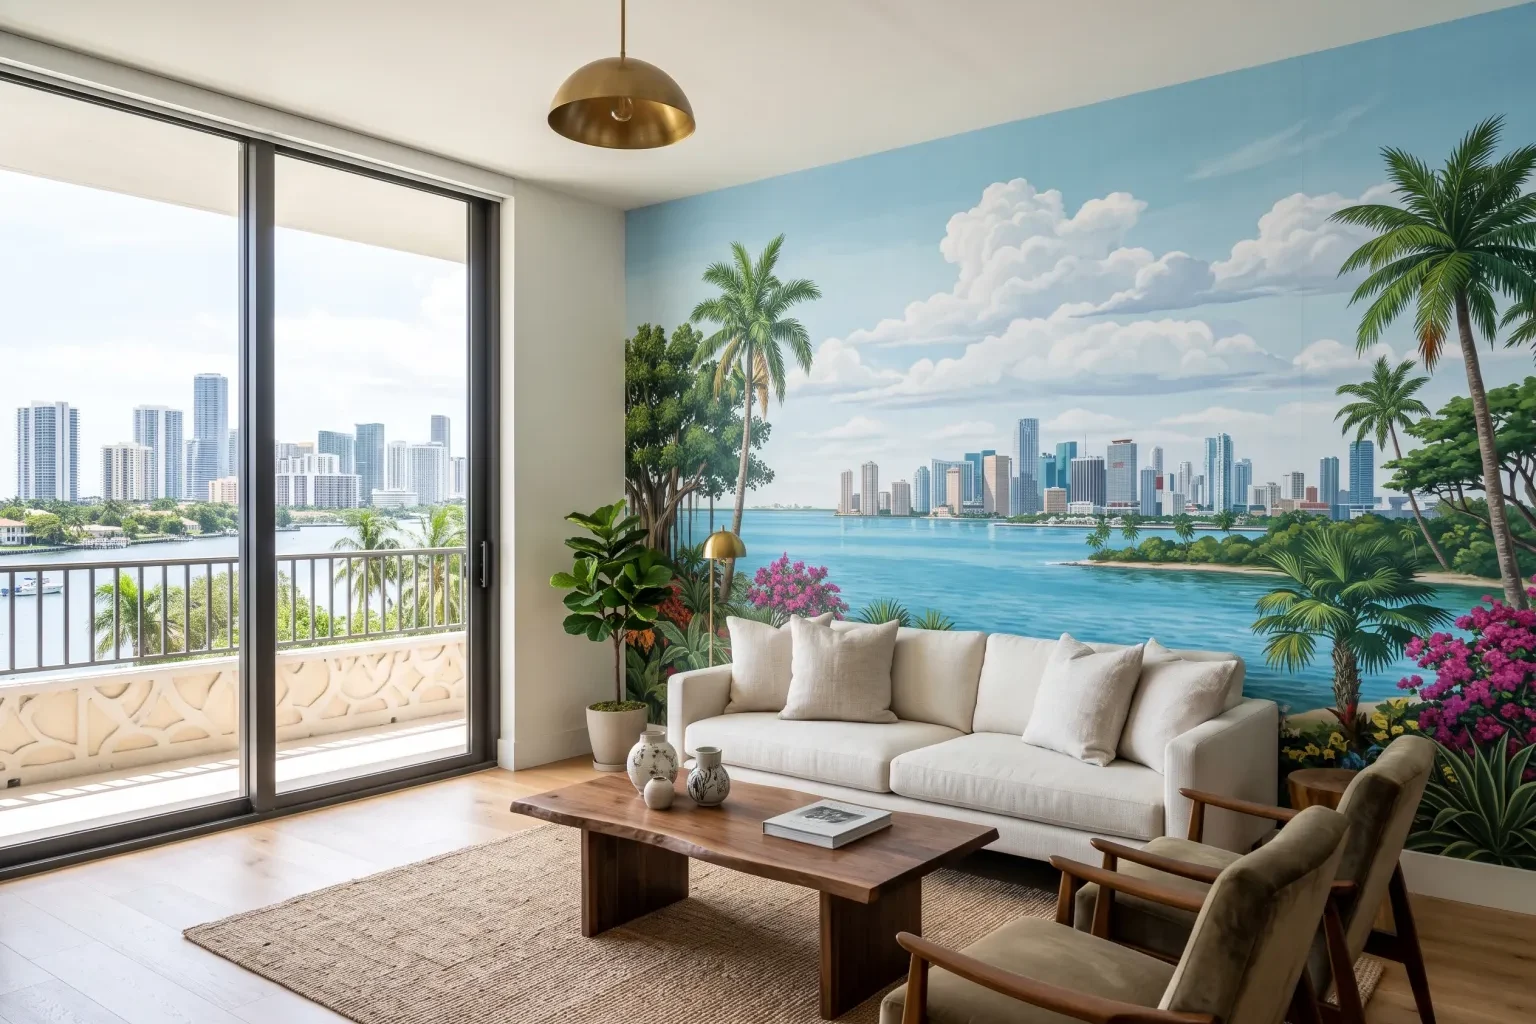
The short answer
A mural is the right pick when one wall should carry a single large image, such as behind a bed, a sofa or a dining table. We measure before you order, prime the wall, lay the panels out dry, then hang them in sequence from a plumb line so the picture lines up across every seam.
A wall mural is one continuous image split into numbered panels, and the entire effect depends on those panels meeting so cleanly that nobody notices the joins. A palm canopy, a misty forest, a vintage map or an oversized botanical print only works when the horizon stays level, the focal point lands where the eye naturally goes and the edges disappear into the ceiling and baseboard. WallStyle Installers puts up printed and custom-sized murals in houses, townhomes and condos throughout Miami and nearby cities. Below you will find how we decide if a mural fits your room, what the wall needs underneath, the order we hang panels in, what changes the size of the job and how to look after the image once it is up.
Choosing the right wall for a mural
Murals look strongest on one uninterrupted wall with few doors, windows or outlets cutting into the picture. The wall behind a headboard, the long side of a living room, the end of a hallway or a child's bedroom feature wall are common choices. A scene with depth, such as a beach horizon or a receding path, can make a narrow condo room feel wider.
Think about where furniture will sit before you choose an image. A sofa or console will hide the lower third of the wall, so the interesting part of the scene should live above that line. We also look at sight lines from the front door or kitchen, since a mural becomes the first thing people see from those angles. Rooms with heavy daily moisture are better served by a vinyl-coated print rather than a paper or fabric one.
Measure before you order
Most mural trouble starts at the ordering stage. Walls in older Miami ranch homes and concrete-block houses are rarely perfectly square, and a ceiling can drift a half inch or more from one corner to the other. We measure width and height at several points, note every opening and recommend adding bleed on all four sides so the image can be trimmed without losing anything important.
If you are ordering a custom-sized print, we can send the measurements and suggested crop to you before you place the order. For stock murals sold in fixed panel sizes, we check whether the scene will need to be shifted left or right so a key element, such as a sun, a tree trunk or a horizon line, sits where you want it.
Getting the surface ready
A mural is unforgiving because a large picture makes bumps and patches easy to spot. We pull outlet covers, fill holes and cracks, sand glossy paint to dull it and spot-prime repairs. The whole wall then gets a wallcovering primer that lets the adhesive grab while still allowing the panels to be slid into position and, years from now, peeled off without tearing the drywall.
Fresh paint needs time to cure before anything is hung over it, and new drywall needs its own primer coat first. If the wall faces the exterior on a block house, we check for moisture so the print does not bubble during the rainy season.
Hanging the panels in order
Every mural job follows the same basic sequence, adjusted for the material and the instructions that came with it.
- Unbox and lay the panels face up on a clean floor to confirm the numbering and check for print defects
- Mark a vertical plumb line for the first panel, offset from the corner so the image stays true even if the corner is not
- Apply paste to the wall or the panel, depending on whether the product is paste-the-wall or pre-pasted
- Hang panel one, smooth it from the center outward and confirm the top edge has bleed above the ceiling line
- Bring each following panel in tight, matching the image at the seam before pressing it flat; overlap-style murals get a double cut through both layers
- Roll seams lightly and wipe away adhesive right away so it does not dry glossy on the print
- Trim the ceiling, baseboard and any openings with a straightedge and a fresh blade, then reinstall plates
What affects the scope
Since murals vary from a single small panel set to a floor-to-ceiling scene across a double-height wall, we look at the room before quoting. The main factors are how much repair the wall needs, whether the print is paper, non-woven, vinyl or fabric-backed, and how many panels must line up. A busy image with fine detail at every seam takes more care than an abstract wash of color. Wider walls, extra-tall ceilings that need scaffolding, and openings that cut through the picture all add steps. Taking down old wallpaper or a previous mural first is also part of the picture.
Caring for the finished mural
Let the adhesive cure for a few days before hanging artwork or pushing furniture against the wall. After that, dust with a dry microfiber cloth. Vinyl and many non-woven prints can take a lightly damp cloth for fingerprints; paper and fabric prints should stay dry.
Strong sun fades inks over time, so a mural opposite a big sliding door benefits from blinds or window film. Steady indoor humidity from the AC keeps the panels flat. If a seam starts to lift, a quick touch-up with the right adhesive solves it, so let us know before it catches on something and tears.
Mural Installation by city
- Mural Installation in Cutler Bay
- Mural Installation in Homestead
- Mural Installation in South Miami
- Mural Installation in Coral Gables
- Mural Installation in Sweetwater
- Mural Installation in Florida City
- Mural Installation in West Miami
- Mural Installation in Doral
- Mural Installation in Miami Springs
- Mural Installation in Medley
- Mural Installation in Hialeah
- Mural Installation in Hialeah Gardens